
Sweet and Sour Lotus Root Slices: The Vinegar Lover’s Dream Recipe
Okay, let’s be real—if you’re like me and have a deep, unapologetic love for vinegar, you need to try these sweet and sour lotus root slices. I mean, don’t get me wrong, plain stir-fried lotus root is nice, but there’s something about that sweet-tart explosion that makes every bite feel like a flavor party. Trust me, I’ve been known to sneak extra vinegar into my cooking, and this dish? It’s where my obsession meets culinary genius.
Let me tell you a little secret: I used to think lotus root was just a “meh” vegetable until I tried this recipe. Now? I crave it weekly. The key is the balance—sweetness from the sugar, tang from the vinegar, and that crispy texture that makes you go “crunch!” every time. Plus, it’s so easy to make, even if you’re not a kitchen pro. Let’s dive in!
What You’ll Need: Ingredients Breakdown
First, gather all your ingredients. No need for fancy tools—just a sharp knife, a pan, and these simple staples:
- 1 large, crisp lotus root – Look for one that feels firm and heavy (not hollow) to ensure maximum crispiness. Asian grocery stores usually have the best ones, but regular farmers markets work too!
- 1 green onion (scallion) – Thinly sliced, both white and green parts (they add great aroma!)
- 1 small piece of ginger – About 1-inch slice, peeled and minced (optional but highly recommended for depth)
- 1 garlic clove – Minced (or sliced if you’re into bigger chunks)
- 15g (1 tbsp) granulated sugar – For balancing the vinegar’s tartness
- 25g (2 tbsp) rice vinegar – The star of the show! Use a high-quality one for that authentic sweet-sour flavor. Apple cider vinegar is a solid substitute if you don’t have rice vinegar.
- 2g (½ tsp) salt – Just a pinch to enhance the flavors, not overpower
- 10g (1 tbsp) light soy sauce – Adds subtle umami without making it salty
- 1 tsp sesame oil – For that final fragrant kick (skip if you’re not a sesame oil fan)
- 25g (2 tbsp) corn oil – Any neutral oil works, but corn oil is great for high-heat cooking
Step-by-Step: How to Make This Magical Dish
Okay, let’s get cooking! I promise this is easier than it sounds. Let’s walk through each step:
 Step 1: Prep the Lotus Root
Start by rinsing the lotus root under cold water to remove any dirt. Then, slice it into thin rounds—about ¼-inch thick. If some slices are too big (like the center part), cut them in half to ensure even cooking. Pro tip: Don’t rush slicing! A sharp knife makes all the difference, and uneven slices = uneven cooking. Trust me, I’ve made that mistake before.
 Step 2: Rinse to Keep It Crispy
Here’s a crucial step: After slicing, rinse the lotus root slices under running water for 1-2 minutes. This removes excess starch, which is the secret to keeping them crispy. If you skip this, your lotus root will turn mushy and soggy. I’ve done it—never again! Soak up that water with a colander, and pat the slices dry gently with a paper towel if you’re in a hurry.
 Step 3: Mix the Sweet and Sour Sauce
In a small bowl, combine the rice vinegar, sugar, salt, and light soy sauce. Stir until the sugar dissolves completely. Taste it now! If it’s too sweet, add a splash more vinegar; if it’s too tart, add a tiny bit more sugar. This is your chance to perfect the flavor before cooking. I usually aim for a “slightly sweet, very tangy” balance—adjust to your taste!
 Step 4: Chop the Aromatics
While the sauce is simmering (okay, not really simmering—just dissolving!), slice the green onion, mince the ginger, and slice the garlic. Keep these handy because they’ll add amazing aroma. Pro tip: Mince the ginger finely so it cooks evenly and releases its flavor faster. No one likes big chunks of ginger in their final dish, right?
 Step 5: Sauté the Aromatics
Heat the corn oil in a large skillet over medium-high heat. Once the oil is shimmering (but not smoking!), add the green onion, ginger, and garlic. Sauté for 30 seconds until fragrant—you’ll smell the ginger and garlic immediately. Don’t burn them! If you do, the whole dish will taste bitter. So keep that heat on medium, and stir constantly.
 Step 6: Add the Lotus Root
Now, toss in the drained lotus root slices. Stir them into the hot oil and aromatics for 1-2 minutes. You’ll see the lotus root start to soften slightly but still hold its shape. The goal is to cook it just enough so it’s tender but not mushy. Keep stirring—this ensures even heat distribution and keeps the slices from sticking.
 Step 7: Pour in the Sauce
Slowly pour the prepared sauce over the lotus root. Stir everything together quickly—you want the sauce to coat each slice evenly. Let it cook for 2-3 minutes, stirring occasionally. The sauce will start to thicken and coat the lotus root, giving it that glossy, appetizing look. If the sauce is too runny, let it simmer for a minute longer to reduce.
 Step 8: Finish with Sesame Oil
Drizzle in the sesame oil and stir gently. This adds a nutty, fragrant finish that ties everything together. Taste again! Adjust salt, sugar, or vinegar if needed. I once forgot to add salt and ended up with a flavorless mess—so check that salt level! A little goes a long way.
 Step 9: Check for Doneness
Your dish is ready when the lotus root is tender but still crisp (not mushy!) and the sauce has coated it evenly. The color should be a beautiful golden-brown with a slight sheen. If the sauce is too thick, add a splash of water to thin it out. Now, turn off the heat—no overcooking, or it’ll get soggy!
 Why This Dish Is a Game-Changer
Let me tell you why this is my favorite: The sweet and sour sauce actually soaks into the lotus root slices, not just sitting on top. Every bite is packed with that tangy-sweet goodness. I’ve had non-vinegar lovers try this and become converts—seriously, the sugar balances the acidity so perfectly. It’s like a hug for your taste buds!
 The Visual Delight
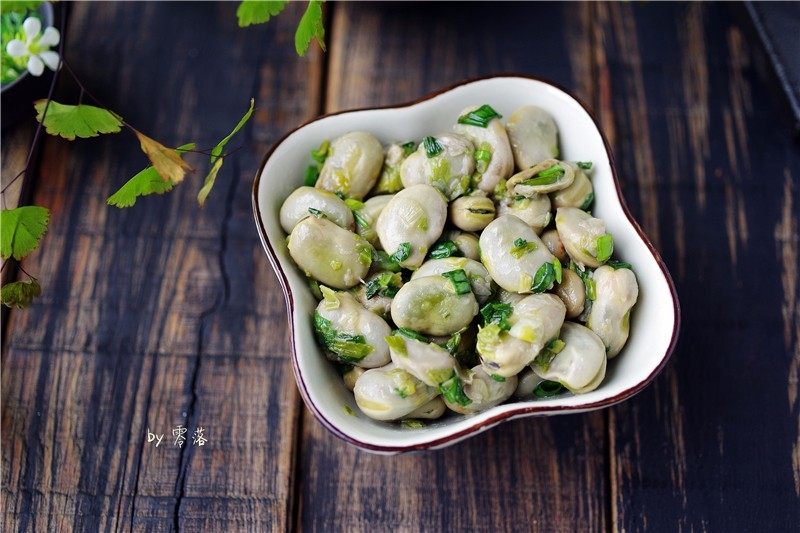
Look at that color! The glossy, amber sauce coating the golden-brown lotus root slices. It’s not just delicious—it’s Instagram-worthy. I love plating it with a sprinkle of extra green onion for a pop of color. Trust me, your friends will ask for the recipe immediately.
 Serve and Enjoy!
Finally, dig in! This dish is perfect on its own, with rice, or even as a snack. My little nephew calls it “the yummy sweet-sour lotus root” and eats it by the spoonful. It’s kid-approved, vinegar-lover-approved, and even haters of vinegar will be surprised. The sugar is just enough to make it approachable, but the vinegar keeps it interesting.
Pro Tips for Customizing Your Dish
Not everyone loves vinegar equally, so here are some tweaks to make it your own:
- Less vinegar? No problem! If you’re not a vinegar fan, reduce the rice vinegar to 15g (1 tbsp) and increase sugar to 20g (1.5 tbsp) for a sweeter twist.
- Spice it up! Add a pinch of red pepper flakes or a drizzle of sriracha when you sauté the aromatics for a subtle kick.
- Black vinegar hack: Swap half the rice vinegar with black vinegar for a deeper, richer tang (great if you want complexity).
- Double the sauce! Make extra sweet and sour sauce to use as a dip for veggies or stir-fry other dishes.
So there you have it—the ultimate sweet and sour lotus root recipe. Whether you’re a vinegar enthusiast, a kid, or someone just craving something flavorful and easy, this dish delivers. It’s quick to make, budget-friendly, and guaranteed to satisfy. Happy cooking, and remember: the best recipes are made with love (and maybe a little extra vinegar 😉).