


 and Rock Sugar Wine: A Refreshing Homemade Brew")
Hey there, fellow food lovers! Today, I’m super excited to share a recipe that’s been a summer staple in my life ever since I tried it—yellow skin fruit and rock sugar wine. If you’ve never heard of yellow skin fruit (also called wampee), you’re in for a treat. It’s a small, tangy-sweet fruit native to southern China, and when paired with rock sugar and rice wine, it creates a drink that’s not only delicious but also has some amazing health benefits. Let me walk you through how to make it step by step!
What You’ll Need
First things first, let’s gather our ingredients. This recipe is pretty straightforward, but you’ll want to make sure you have everything ready before you start.
- 300 grams of fresh yellow skin fruit (remove stems and seeds if you prefer, but I leave the seeds in for extra flavor)
- 200 grams of rock sugar (adjust to taste—more if you like it sweeter)
- 1 bottle of rice wine (I use 38-52% alcohol content, but any rice wine works)
- A clean, dry glass jar with a tight lid (I use a 1-liter jar)
Step-by-Step Instructions

Step 1: Prep the Yellow Skin Fruit
Start by washing the yellow skin fruit thoroughly under running water. Then, remove the stems. I like to leave the seeds in because they add a slightly bitter note that balances the sweetness, but if you’re not a fan, feel free to scoop them out. Next, soak the fruit in a bowl of water with a pinch of salt for about 10 minutes. This helps remove any pesticides or dirt.

Step 2: Dry the Fruit
After soaking, drain the fruit and pat it dry with a clean kitchen towel. It’s crucial to make sure the fruit is completely dry before moving on—any moisture can cause mold to grow in the wine later.

Step 3: Microwave for 30 Seconds
Here’s a little trick I learned: place the dried yellow skin fruit in a microwave-safe bowl and microwave it on high for 30 seconds. This helps release the fruit’s natural oils and enhances the flavor. Don’t worry, it won’t cook the fruit—just warm it up a bit.

Step 4: Layer the Ingredients
Now, let’s assemble the jar. Take your clean, dry glass jar and start by adding a layer of rock sugar at the bottom. Then, add a layer of yellow skin fruit. Repeat this process—sugar, fruit, sugar, fruit—until the jar is about 70% full. Leave some space at the top because the fruit will expand a little when the wine is added.


Step 5: Pour in the Rice Wine
Once the jar is layered, slowly pour the rice wine over the fruit and sugar. Fill the jar until it’s about 90% full, leaving a small gap at the top. This prevents the wine from overflowing when the fruit ferments slightly.


Step 6: Seal and Store
Seal the jar tightly with its lid and give it a gentle shake to mix the ingredients. Then, store it in a cool, dark place (like a pantry or cupboard) for at least 3 months. The longer it sits, the better the flavor will be. I usually let mine age for 6 months to a year—trust me, it’s worth the wait!


Why You’ll Love This Wine
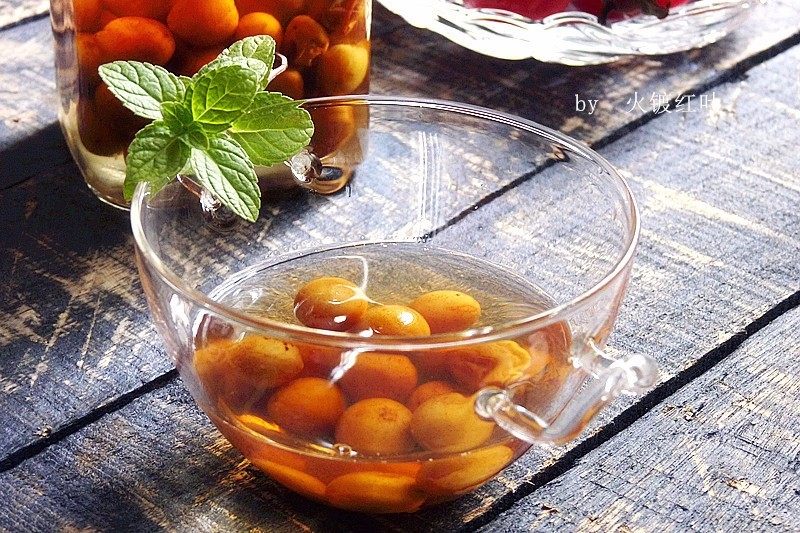
Yellow skin fruit is known for its ability to soothe coughs, relieve heat, and aid digestion. When combined with rock sugar and rice wine, it becomes a warm, comforting drink that’s perfect for cold days or when you’re feeling under the weather. Plus, the natural sweetness of the fruit and sugar makes it a great alternative to store-bought wines, which often have added preservatives.
Pro tip: If you’re not a fan of strong alcohol, you can dilute the wine with a little warm water or honey when serving. It’s also delicious served chilled on a hot summer day!
So, what are you waiting for? Grab some yellow skin fruit, rock sugar, and rice wine, and start brewing your own batch. I promise you won’t regret it. Let me know in the comments if you try this recipe—I’d love to hear how it turns out!
")


