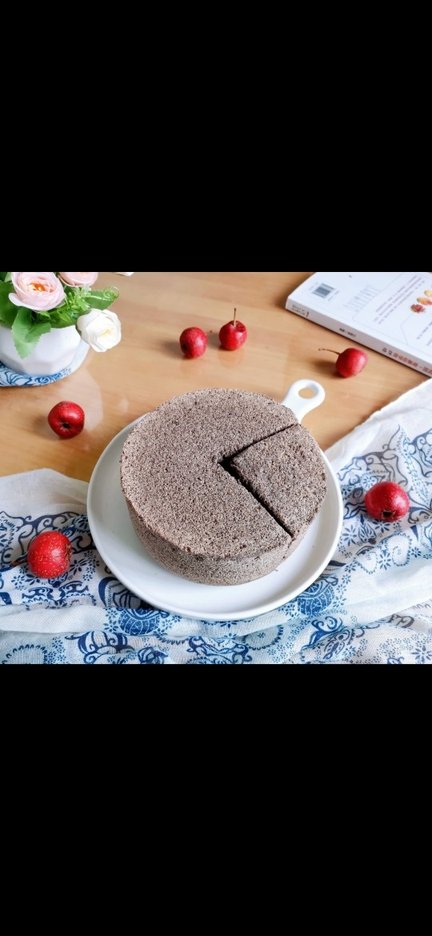
Why You’ll Obsess Over This Matcha Mochi Red Bean Soft European Bread
Let’s be real—bread that’s both pretty and actually delicious? Total unicorn status, right? But this matcha mochi red bean soft European bread? It’s the unicorn that showed up to the party with extra sprinkles (or, uh, matcha and mochi). I’m not even exaggerating—this thing is light, fluffy, has that earthy matcha kick, a chewy mochi center, and sweet red bean that ties it all together. No heavy, greasy aftertaste, no complicated techniques (okay, maybe a tiny bit of Japanese kneading magic, but trust me, it’s doable). Let’s dive in!
Ingredients Breakdown (No Fancy Stuff, Promise)
First, let’s get your ingredients sorted. I split them into groups so you don’t mix up the dry and wet stuff—pro tip: this saves so much chaos later. Here’s what you need:
Bread Dough Ingredients (A + B)
- Group A: 65g high-gluten flour (that’s half of 130g, duh), 30g glutinous rice flour, 1 tsp dry yeast, 2 tbsp sugar, 2 tsp matcha powder, 100-110ml warm water (wait, the original said 100~110°, but let’s clarify—warm water, not boiling! Like 42-43°C, which is just slightly warmer than body temp)
- Group B: 65g high-gluten flour (the other half), 1/3 tsp salt, 10g unsalted butter (softened to room temp—don’t skip this step! Cold butter is the enemy here)
Mochi Filling (The Chewy Star)
- 30g glutinous rice flour, 15g sugar, 60cc water (about 1/4 cup), 1 tbsp cornstarch (for dusting—no sticky messes allowed)
Red Bean Filling (The Sweet Heart)
- 100g sweet red bean paste (anko—you can buy this pre-made at Asian markets, no need to cook beans from scratch unless you’re feeling extra)
Extras
- 2 tbsp high-gluten flour (for dusting the surface later)
Step-by-Step Instructions (With Pics to Save You)
Okay, let’s get baking! I’ve got pics for each step so you don’t feel lost—thank me later.
1. Prep the Dough (Groups A + B)

First, grab two mixing bowls. Put all Group A ingredients in one, Group B in the other. This is super important because yeast hates salt—if you mix them directly, the yeast might die, and then your bread won’t rise. Total bummer, so don’t skip this!
2. Mix Group A First

Take your Group A bowl. Pour the warm water over the dry yeast and stir it up really well with a wooden spatula. Let it sit for 1 minute—you should see a little foam (that means the yeast is alive and ready to party).
3. Combine A + B (Slowly, No Powder Explosions)

Now, add Group B to Group A. But here’s the thing: if you dump it all in at once, flour will fly everywhere (ask me how I know). Add it a little at a time, stirring slowly until it starts to come together into a messy ball.
4. Knead That Dough (Japanese Style = Fluffy Payoff)

Turn the dough out onto a clean surface (no flour yet—trust the process). Knead it for about 10-15 minutes. The Japanese kneading method is basically pushing the dough away from you with the heel of your hand, folding it back, and repeating. Keep going until the dough is smooth, elastic, and doesn’t stick to your hands. If it’s still sticky, add a tiny bit of flour, but not too much—you want it soft, not dry.
5. First Fermentation (Let It Grow!)

Shape the dough into a ball, seam side down, and put it back in the bowl. Cover it with plastic wrap (or a damp towel) and let it ferment at 40°C (104°F) for 25-35 minutes. If you don’t have a proofing box, just put it in a warm spot (like near a radiator or in the oven with the light on).
6. Check the Fermentation (Yay, It’s Big!)

After 30 minutes or so, poke the dough with your finger. If the indentation stays, it’s done! It should be about twice the size of the original. So satisfying, right?
7. Divide and Rest (Don’t Rush This)

Punch down the dough to release the air (therapeutic, tbh). Divide it into 6 equal pieces—use a kitchen scale if you want them perfect, but eyeing it works too. Roll each piece into a ball, seam side down, and cover with a damp towel. Let them rest for 10 minutes (this is called “bench rest” and it makes rolling easier later).
8. Make the Mochi (Chewy Goodness)

While the dough rests, let’s make the mochi! Put 30g glutinous rice flour, 15g sugar, and 60cc water into a microwave-safe plastic container (with a lid). Mix it up until smooth, then microwave on 500W for 1 minute.
9. Finish the Mochi (No Sticky Fingers)

Take the mochi out, stir it really well (it’ll be hot, so be careful!), then microwave for another 1 minute. Sprinkle half the cornstarch on a plate. Take the mochi out (use a spatula—it’s sticky!) and put it on the plate. Sprinkle the rest of the cornstarch on top, then divide it into 6 small balls. Set aside.
10. Prep the Red Bean Paste

Take the 100g sweet red bean paste and divide it into 6 equal balls too. Easy peasy—this is the sweet part that balances the matcha.
11. Assemble the Buns (The Fun Part!)

Take one rested dough ball. Flatten it with your palm, then roll it into a circle (about 10cm wide) to release any air bubbles. Put a red bean ball in the center, then top it with a mochi ball. Fold the edges of the dough up around the filling, pinching the seam tightly to seal it. Make sure the seam is down so it doesn’t open while baking.
12. Dust with Flour (For That Rustic Look)

Sprinkle a little high-gluten flour on the top of each bun. This gives it that cute, rustic European bread look—plus, it prevents the plastic wrap from sticking later.
13. Second Fermentation (One More Grow)

Put the buns on a baking sheet lined with parchment paper. Cover them with plastic wrap and a damp towel, then let them ferment again at 40°C for 25 minutes. They should get puffy and soft—you’ll know they’re ready when they feel light when you pick them up.
14. Bake and Cool (The Home Stretch!)

Preheat your oven to 180°C (350°F). Bake the buns for 15-18 minutes, or until the tops are golden brown. Take them out and let them cool on a wire rack for 10 minutes—don’t eat them right away, the mochi is super hot! Once they’re warm (not scalding), dig in.
Pro Tips to Avoid Disasters (I’ve Made All These Mistakes)
- Room temp ingredients are key! Butter and eggs (if you ever add them) need to be room temp so they mix evenly. Cold butter will make your dough lumpy—no thanks.
- Warm water is crucial for yeast. Too cold, and the yeast won’t activate; too hot, and it’ll kill it. Aim for 42-43°C (108-110°F)—you can test it with your wrist: it should feel slightly warm, not hot.
- Don’t over-knead the dough. If you knead it too much, it’ll get tough. Stop when it’s smooth and elastic—you should be able to stretch it a little without it breaking.
- Cornstarch is your friend for mochi. Without it, the mochi will stick to everything (your hands, the plate, your soul). Don’t skip the dusting!
Final Thoughts: Why This Bread Is a Game-Changer
I’ve made a lot of bread in my time—sourdough, banana bread, even that weird cheese bread that went viral. But this matcha mochi red bean soft European bread? It’s my go-to now. It’s perfect for breakfast (toast it a little for extra crunch), afternoon tea (pair with green tea—duh), or even a late-night snack (no judgment). The matcha is not too bitter, the mochi adds that fun chewy texture, and the red bean is just sweet enough. Plus, it’s so pretty—your friends will think you bought it from a fancy bakery (don’t tell them it’s homemade).
So what are you waiting for? Grab your ingredients, put on some music, and let’s bake! Trust me, the smell of matcha and fresh bread filling your kitchen is worth every minute.