
What Are Scones, Anyway? A Quick History Lesson
First off, let’s get one thing straight—scones are not just “British biscuits” (though I’ve definitely made that mistake before). They’re a classic quick bread with roots in Scotland, named after the Stone of Scone (aka the Stone of Destiny), where Scottish kings were crowned. How cool is that? Back in the day, they were triangle-shaped, oat-based, and cooked on a griddle. Now? We use flour, bake ’em in the oven, and shape ’em into circles, squares—whatever floats your boat. And the best part? They can be sweet or savory. But today? We’re all about sweet: black raisin scones that are crispy on the outside, soft on the inside, and perfect for pairing with tea.
Why Black Raisin Scones? Here’s the Tea (Pun Totally Intended)
Let’s talk about why black raisins make scones so dang good. They add a chewy, sweet burst in every bite that balances the buttery, slightly salty base. No fancy ingredients here—just simple stuff you probably already have in your pantry. Plus, they’re way better than store-bought (trust me, I’ve tried both). Store-bought scones are often dry or too crumbly, but homemade? You control the butter, the sweetness, and the raisin ratio. More raisins = more happiness, right?
Ingredients You’ll Need (No Fancy Gadgets Required)
Before we dive in, let’s round up the goods. I promise, no weird ingredients here—just basic baking staples:
- 200g all-purpose flour (plain flour works too—don’t overcomplicate it)
- 50g powdered sugar (granulated is fine, but powdered gives a smoother texture)
- 1.5g salt (a tiny pinch, but it makes all the difference—trust the process)
- 10g baking powder (this is what makes ’em rise—don’t skip it!)
- 50g unsalted butter (cold, cold, cold—this is key for flakiness)
- 63g heavy cream (or whipping cream—adds richness)
- 63g milk (whole milk is best for creaminess)
- 95g black raisins (or sultanas if you prefer—soak ’em in hot water for 5 mins first if they’re dry!)
- Egg wash: 1 egg + a tiny pinch of salt (for that golden, shiny top)
- High-gluten flour (for dusting—prevents sticking)
Step-by-Step: How to Make Perfect Black Raisin Scones
Okay, let’s get baking! I’ll walk you through each step with tips so you don’t mess up (I’ve made my share of scone fails—no judgment).
Step 1: Prep Your Ingredients First

Pro tip: Do this before you start mixing. Sift the flour, powdered sugar, salt, and baking powder into a big bowl. Why sift? It gets rid of lumps and makes the scones lighter. Then, cut your cold butter into small cubes (the colder the butter, the flakier the scones—don’t soften it too much!). Mix the heavy cream and milk in a separate cup, and beat the egg with a pinch of salt for the egg wash. Trust me, prepping saves you from scrambling later.
Step 2: Cut the Butter into the Flour

Now, add those cold butter cubes to the sifted flour mix. Here’s the fun part: use your fingertips to rub the butter into the flour until it looks like coarse sand. Don’t overdo it—you want little butter lumps left (those lumps melt in the oven and make the scones flaky). If your hands get too warm, pop the bowl in the fridge for 5 mins—cold is your friend here!
Step 3: Add the Wet Ingredients & Raisins

Pour the cream-milk mix into the flour-butter sand. Stir gently with a spatula—don’t overmix! Just until the dough starts to come together. Then toss in the black raisins (make sure they’re not too wet—pat ’em dry if you soaked ’em). Fold ’em in carefully so they’re evenly distributed.
Step 4: Chill the Dough (Don’t Skip This!)

Cover the dough with plastic wrap and pop it in the fridge for 15-20 mins. Why? Chilling the butter again keeps it from melting too fast in the oven, which means flakier scones. I know, waiting is hard—but it’s worth it. Use this time to preheat your oven to 200°C (400°F) and line a baking sheet with parchment paper.
Step 5: Roll & Cut the Scones

Lightly dust your counter with high-gluten flour (regular flour works too, but high-gluten prevents sticking better). Take the dough out of the fridge and roll it into a 1-1.5cm thick circle. Grab a round cookie cutter (or a glass if you don’t have one) and cut out scones. Pro tip: Dip the cutter in flour before each cut—this stops the dough from sticking. For the raisin-heavy spots, press the cutter down a little harder to get through.
Step 6: Egg Wash for That Golden Glow

Place the scones on the baking sheet. Brush them with the egg wash—wait 2 mins, then brush again. This double brush gives them that perfect shiny, golden top. Don’t skip the second layer—it makes a huge difference!
Step 7: Bake Until Perfectly Golden

Pop the baking sheet in the preheated oven and bake for 13 mins. Keep an eye on them—every oven is different! They’re done when the tops are golden brown and they sound hollow when you tap ’em. Resist the urge to open the oven early—you’ll let the heat out and the scones won’t rise as well.
Step 8: Let Them Cool (Then Dig In!)

Take the scones out of the oven and let them cool on a wire rack for 5 mins. They’re best eaten warm—slather with clotted cream and jam if you’re feeling fancy (hello, British afternoon tea vibes!). Or just eat ’em plain—they’re delicious either way.
Pro Tips for Scone Success (I Learned These the Hard Way)
Let me save you from my past mistakes with these quick tips:
- Use cold butter! Warm butter makes scones dense, not flaky.
- Don’t overmix the dough—overmixing develops gluten, which makes scones tough.
- Chill the dough—this is non-negotiable for flakiness.
- Use a big cookie cutter—small ones make scones that are too crumbly. Trust the recipe’s tip!
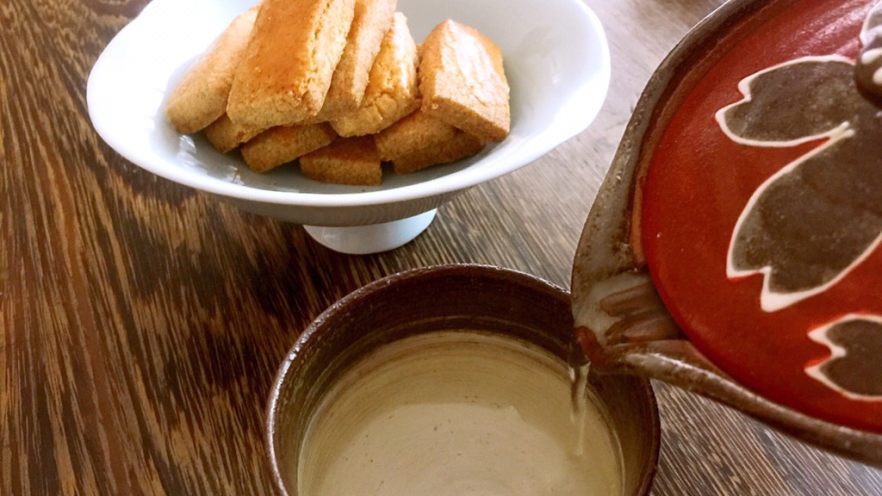
- Pair with tea—black tea, Earl Grey, or even chamomile. It’s the perfect combo.
Final Thoughts: Why You’ll Love These Black Raisin Scones

These scones are so easy to make, and the result is chef’s kiss. Crispy on the outside, soft and buttery on the inside, with sweet black raisins in every bite. They’re perfect for breakfast, a midday snack, or an afternoon tea party. And let’s be real—homemade scones just taste better than store-bought. So grab your ingredients, preheat that oven, and get baking. Your taste buds will thank you!

See? Outer crisp, inner soft—exactly how scones should be. No dryness, no crumbliness—just pure scone perfection.

And yes, pairing with a cup of tea is non-negotiable. It’s like they were made for each other. I’m already planning my next batch—maybe I’ll add some lemon zest next time? The possibilities are endless!

There you have it—your finished black raisin scones. I hope you love them as much as I do. Happy baking!