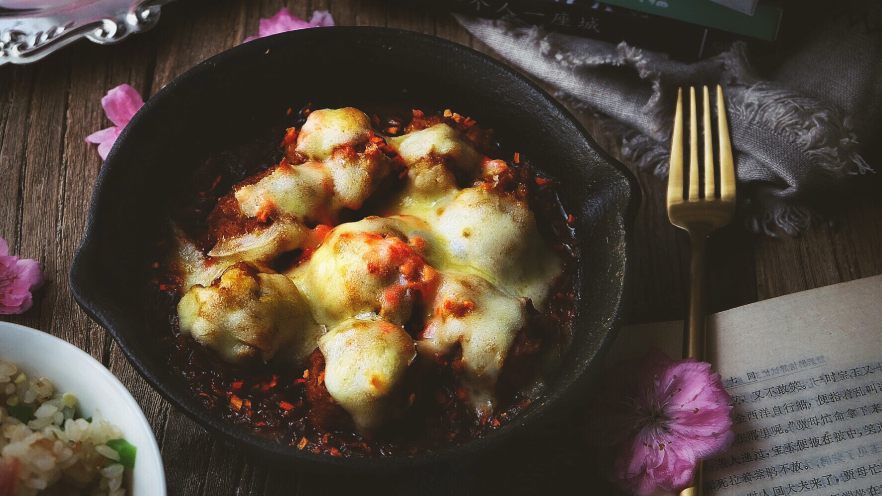

Homemade Red Bean Cheesecake Bars: A Perfect Autumn Afternoon Tea Treat
Let me tell you about the day I fell head-over-heels for cheesecake—all because I skipped lunch and wandered into a tiny dessert shop on a crisp autumn afternoon. The barista there recommended their classic cheesecake, and honey, my taste buds did a happy dance! Ever since then, I’ve been obsessed with recreating that magic at home, but with a cozy twist: sweet red beans! Today, we’re making these creamy, dreamy red bean cheesecake bars that are basically heaven in a pan. Perfect for lazy afternoons with tea or coffee—let’s dive in!
What You’ll Need: Ingredients for This Red Bean Cheesecake
First, gather all your ingredients. This recipe uses pantry staples, so you’re probably good to go! Let’s split it into crust and filling to keep things organized:
Crust Ingredients
- 90g digestive cookies (or homemade cookies—store-bought works just fine!)
- 50g unsalted butter (melted, please!)
Cheesecake Filling & Topping
- 270g cream cheese (softened, not melted—key for creaminess!)
- 25g cornstarch or potato starch (to thicken the filling)
- 35g sweetener (I used xylitol, but sugar works too—adjust to taste!)
- 1 whole egg + 1 egg yolk (room temp is best, but I’ve skipped this step before)
- 120g heavy cream (the secret to silkiness)
- 20g fresh lemon juice (adds a zingy tang)
- 80-100g homemade red bean paste (or store-bought—don’t overdo it!)
Step-by-Step: Making Your Red Bean Cheesecake Bars
Let’s get started! Preheat your oven to 170°C first. While that’s heating, prep the crust—this needs to chill, so we’ll do it first!
Step 1: Prep Your Ingredients

Take out all your ingredients and set them out. Softening the cream cheese? If you forgot to take it out earlier, no panic! Let it sit on the counter for 30-45 minutes, or use the microwave trick: pop it in a bowl over warm water for 10-15 seconds (low power, don’t overheat!).
Step 2: Line the Pan

Cut a piece of parchment paper to fit your 8-inch square pan. This is a lifesaver for easy cleanup later—no sticky edges! Just trim it to size and lay it inside the pan.
Step 3: Crust Time! Cookies + Melted Butter

Crush those cookies! I use a plastic bag and a rolling pin—lazy girl approved! If you’re not lazy, use a food processor. Aim for fine crumbs, not powder. (Pro tip: The bag method is way less mess than cleaning a blender.)

Melt the butter. Wait, can I melt it in the microwave? I’ve never tried, but if you do, let me know in the comments! 😂 Pour the melted butter over the crushed cookies and mix until everything sticks together.
Step 4: Press the Crust into the Pan

Transfer the crumbly mixture into the pan. Use a spoon or the bottom of a glass to press it down firmly. Evenness is key here—no loose corners! Pop it in the fridge to chill while you make the filling (at least 15 minutes).

While the crust chills, preheat the oven to 170°C. Trust me, this is the first time you’ll hear the oven “ding” happily!
Step 5: Mix the Creamy Filling

Take the crust out of the fridge (it should feel firm). Now, beat the softened cream cheese with a mixer until smooth and creamy—no lumps allowed! It’s like hugging a cloud, but better.

Add the eggs (1 at a time!) and egg yolk. Beat on low speed until fully incorporated. Sing a little “Stirring Song” while mixing: left three times, right three times, like a mini dance party! 🕺 (My mixer loves this.)

Pour in the heavy cream and beat again. Then add the sweetener (sugar or xylitol) and lemon juice. Beat until everything’s smooth—this is where the filling starts to look magical!

Add the cornstarch or potato starch. Mix gently until no lumps remain. This thickens the filling and gives it that perfect creamy texture—no runny mess here!

Fold in the red beans! Gently mix them in—don’t overdo it, or they’ll turn into a paste. You want whole beans peeking through for texture. 80-100g is the sweet spot—too much and the filling gets heavy!
Step 6: Bake & Chill

Pour the filling into the pan with the crust. Tap the pan on the counter a few times to release air bubbles (no cracks, please!). Slide it into the oven at 160°C (wait, I said 170 before—oops, 160°C is better to prevent browning!). Bake for 40-50 minutes.

Check the edges—they should be set, and the center slightly jiggly (but not runny). Let it cool at room temp for 30 minutes, then chill in the fridge for at least 4 hours (or overnight for best results). Patience, my friend—this makes the filling set perfectly!

Once chilled, slice it up! Use a sharp knife and clean it between cuts for neat edges. Serve with tea, coffee, or even a scoop of ice cream. Enjoy the creamy, sweet, red bean goodness!
Pro Tips to Avoid Cheesecake Fails
- Soft cream cheese = life: If your cream cheese is too hard, your mixer will scream. Soften it for 30 mins or use the microwave (low power, 10 secs max!).
- Eggs: room temp or not? Room temp eggs mix better, but I’ve skipped this step and it still worked. No biggie if you’re in a rush!
- Xylitol vs. sugar: Xylitol is sweeter (1.2x), so reduce by 10-15% if using it. Red beans are already sweet—balance is key!
- Crust pressing: Use a glass or measuring cup to press down—no loose crumbs later! Your future self will thank you.
- Chill time: Overnight in the fridge = better texture. Trust me, it’s worth the wait!
Okay, that’s all! I hope you loved this cozy autumn recipe. Tag me if you make it—I’d adore seeing your red bean cheesecake bars! Happy baking, and enjoy your sweet, creamy treat. 🍂🧡