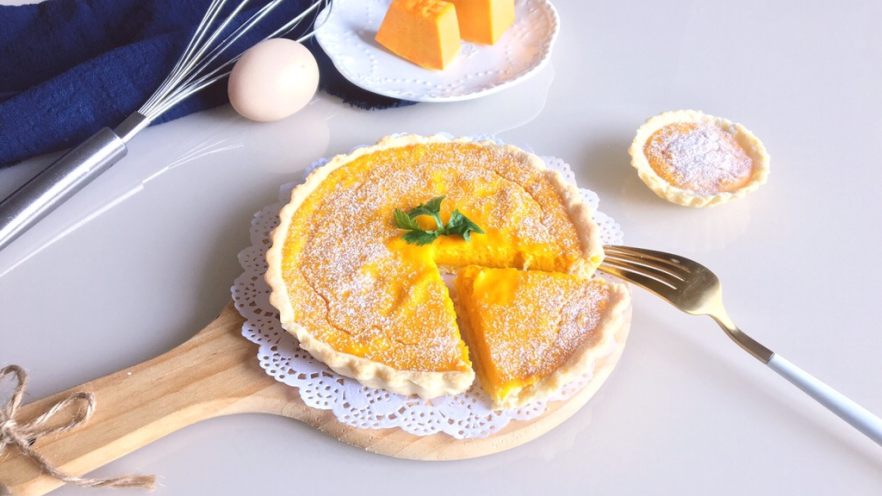
Introduction: Why This Cheese Banana Pie is a Game-Changer 🧀🍌
Okay, let’s be real—how many times have you made a banana pie and thought, “Hmm, this is good, but could it be better?” Well, I’ve got the answer for you: adding cheese! Specifically, mozzarella cheese. Let me tell you, it’s like someone took the classic banana pie and gave it a fancy upgrade. The first time I tried this, I swear I did a little happy dance in my kitchen. It’s creamy, sweet, and that salty-cheesy flavor? Total magic. Plus, it’s surprisingly easy to make—no fancy skills required, just some store-bought pastry and a few ingredients you probably already have. Perfect for breakfast, dessert, or even a midnight snack when you’re feeling fancy. Let’s make this!

Ingredients: What You’ll Need (No Fancy Stuff!)
First, let’s gather the goods. You don’t need anything too exotic here—just a few simple ingredients to make magic happen:
- 2 sheets of ready-made flaky pastry (I used Indian roti, but any store-bought flaky pie crust works! If you’re feeling ambitious, you can make your own, but let’s keep it simple for now.)
- 1 ripe banana (Peel it, then chop into tiny chunks—no need to cook it; the riper, the sweeter the pie!)
- Shredded mozzarella cheese (About ½ cup will do—more if you’re a cheese lover like me! The stretchy, melty kind is best here.)
- Blackcurrant raisins (A handful—about 2 tbsp. These add a chewy, sweet-tart contrast. If you don’t have raisins, you can swap them for chocolate chips or dried cranberries!)
- 1 egg (For the egg wash—you’ll need this to brush on the pie for that golden, glossy finish.)
Step-by-Step: Let’s Bake That Cheese Banana Pie!
Alright, let’s get your hands dirty (but in a good way!). This is super straightforward, I promise. Let’s break it down into easy steps:
Step 1: Prep the Banana & Cheese
First things first—slice that banana! Peel your ripe banana and chop it into small, bite-sized pieces. If it’s extra ripe, don’t stress about browning; that’s just natural sweetness! Set the banana aside in a small bowl. Next, grab your mozzarella cheese. If it’s in a block, shred it with a cheese grater (but pre-shredded works too!). We’ll need this to layer in between the banana and pastry—so much creaminess!

Step 2: Choose Your Pie Method
You can either use a pie pan or go old-school like McDonald’s apple pies! Let me explain both ways. Option 1: Use a round pie pan (like a 9-inch live-bottom pan). Option 2: Take two rectangular pastry sheets, pinch the three sides shut, add the banana, and seal the open edge. Which one is easier? I prefer the pan method for neatness, but both work. Let’s go with the pan for now—we’ll keep it simple!

Step 3: Assemble the Pastry Base
Take one of the flaky pastry sheets and press it gently into your pie pan. It should cover the bottom and sides—don’t worry if it’s not perfect; the edges will look rustic and flaky anyway! If you’re using a pan, this is your base. If you’re using the two-rectangle method, skip this step and move to step 4!

Step 4: Layer the Cheese & Banana
Now, let’s add the star ingredients! First, spread a thin layer of shredded mozzarella cheese over the pastry base. You want it to cover the bottom but not too thick—just enough to melt and bind. Then, top the cheese with all that chopped banana. Make sure to spread it evenly so every bite has banana goodness! Finally, add another sprinkle of mozzarella cheese on top of the banana—this is where the creaminess really starts to shine.

Step 5: Add the Raisins & Top Pastry
Sprinkle the raisins over the cheese and banana. They’ll plump up a bit in the oven and add a nice chewy texture. Now, take the second pastry sheet and cut it into thin strips (about ½-inch wide). These will be our “crust weaving” part—fun, right?

Step 6: Weave the Top Crust
Okay, this part is like making a little blanket for your pie! Take the strips of pastry and weave them over the top of the pie. Start from one side, cross the strips over and under each other, like a little basket weave. Pro tip: Do this directly on top of the pie pan—don’t try to move it after; it’ll get messy! Just keep weaving until the entire top is covered with strips. You can trim the excess if needed, but leave enough to seal the edges.

Step 7: Egg Wash for That Golden Glow
Now, we need to make the egg wash! Crack an egg into a small bowl, whisk it with a fork until smooth. This will be your secret weapon for that beautiful, glossy golden top. Use a brush to apply a thin layer of egg wash over the entire surface of the pie—don’t worry about the strips, just get the whole top covered. The egg wash makes the pie look professional and adds a subtle egg flavor that pairs perfectly with the banana and cheese.

Step 8: Bake Time! (The Most Important Part)
Set your oven to 175°C (350°F). First, pop the pie in for 5 minutes—this is to preheat and start the baking process. After 5 minutes, take it out, brush another layer of egg wash (this helps with the color and makes it extra shiny!), then put it back in for 20-30 minutes. The total baking time depends on your oven—keep an eye on it! You want the crust to be golden brown and the cheese to be bubbly. If you see the edges getting too dark, cover them with foil.

Step 9: Let It Rest & Enjoy!
Once it’s baked, take the pie out of the oven and let it cool for 5 minutes. It’ll be hot, so be careful! Then, slice it up and dig in! The cheese should be melted and stretchy, the banana sweet and gooey, and the crust flaky—pure heaven. Trust me, this is way better than plain banana pie. I dare you to try it!

Pro Tips for Even Better Cheese Banana Pie
Got questions? I’ve got answers! Here are my best tips to make this pie perfect every time:
- Crust hack: If your pastry sheets are sticky, dust a little flour on your rolling pin or hands before rolling. Don’t roll them too thin—about ¼-inch is ideal; too thin and it’ll burn!
- Fruit swap: Not a fan of raisins? Swap them for chocolate chips, chopped nuts, or even a drizzle of honey. The sky’s the limit!
- Cheese choice: Mozzarella is the classic, but you could try cheddar for a sharper flavor or cream cheese for extra richness. Just be careful not to overdo it!
- Baking time tweak: If your oven runs hot, lower the temperature to 160°C (320°F) and reduce time by 5 minutes. Every oven is different, so adjust as needed!
- Storage: Leftovers? Store in an airtight container in the fridge for up to 3 days. Reheat in the microwave for 10 seconds for the perfect warm, gooey bite!
Final Thoughts: Why You Need This Recipe
So there you have it—an easy, cheesy, banana-packed pie that’s sure to become a favorite. Whether you’re making it for brunch, a movie night, or just because, this recipe is foolproof. No fancy tools, no complicated steps—just love and a little cheese. If you try it, tag me in your photos! I’d love to see your take on the cheese banana pie. Happy baking, and enjoy every bite! 🥧✨