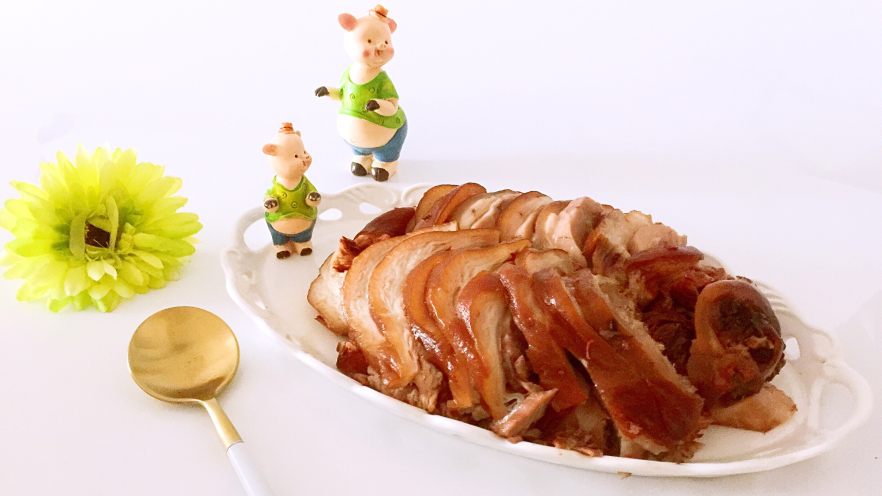
Introduction: Why These Roasted Chicken Wings Are a Game-Changer
Who doesn’t love sinking their teeth into a plate of perfectly crispy, juicy chicken wings? Whether you’re hosting game night with friends, craving a late-night snack, or just want something flavorful and satisfying that’s way healthier than takeout, these oven-roasted chicken wings are about to become your new go-to recipe. They’re easy to make at home, packed with savory marinade flavor, and way less greasy than fried versions—no guilt, just pure deliciousness! Let me walk you through how I make mine, step by step, so you can recreate this magic in your own kitchen.
Ingredients You’ll Need: The Essentials for Flavor
First, let’s gather the tools and ingredients. Here’s what you’ll need (measurements are approximate—adjust to your taste!):
- 8 bone-in, skin-on chicken wings – I use bone-in for extra flavor and juiciness; boneless works too, just cut cooking time by 5-10 minutes.
- 1 small piece ginger – peeled and sliced (or minced for extra aroma)
- 3-4 cloves garlic – minced (the more garlicky, the better!)
- 2 green onions – chopped (both white and green parts add fresh flavor)
- 2 tablespoons light soy sauce – for that umami-rich depth
- 2 tablespoons cooking wine – (like Shaoxing wine, or white wine if you don’t have it) – tenderizes and removes any gamey taste
- 1 teaspoon sugar – balances saltiness and adds a subtle sweetness
- ½ tablespoon dark soy sauce – gives that beautiful golden-brown color
- Salt to taste – I add about ¼ teaspoon, but adjust based on your preference
- Spicy cumin seasoning powder – optional but adds a kick! Start with 1 teaspoon and increase if you like heat
- A little oil – for greasing the baking rack and preventing sticking
Step-by-Step: Making the Perfect Roasted Wings
Now, let’s turn these ingredients into crispy, flavorful wings. Follow along with the images (each step’s image is right where you need it!):

Step 1: Prep the Chicken Wings
Start by rinsing the chicken wings under cold water to remove any impurities. Pat them dry with paper towels (this helps them crisp up later, though it’s not mandatory). Then, using a sharp knife, make two shallow cuts on each wing—one on the top and one on the bottom. These cuts let the marinade penetrate deep into the meat, so every bite is packed with flavor.

Step 2: Blanch the Wings to Cleanse
Place the wings in a pot of cold water and bring to a boil. Let them cook for 2-3 minutes until the water turns cloudy (this removes excess blood and impurities). Drain and rinse the wings under cold water to stop the cooking process and cool them down quickly. Pat dry again with paper towels.

Step 3: Mix the Marinade in a Bowl
In a large bowl, add the blanched wings. Toss in the sliced ginger, minced garlic, and chopped green onions. The more aromatics, the better!

Step 4: Add Salt and Sugar
Sprinkle in about ¼ teaspoon of salt. Then add 1 teaspoon of sugar—this might seem small, but it balances the savory flavors and gives the wings a subtle caramelized edge later. Mix these into the wings with your hands for even distribution.

Step 5: Pour in the Cooking Wine
Add 2 tablespoons of cooking wine. This isn’t just for flavor—it tenderizes the meat and helps the marinade stick better. Use your hands to coat every wing thoroughly.

Step 6: Add Light and Dark Soy Sauce
Next, pour in 2 tablespoons of light soy sauce (for umami) and ½ tablespoon of dark soy sauce (for color). Mix well until all wings are evenly coated.

Step 7: Marinate for 2 Hours (with a Flip!)
Cover the bowl and let the wings marinate for 2 hours. Pro tip: After 1 hour, take the bowl out and flip the wings with your hands to ensure they absorb the marinade evenly. This step is crucial for that deep, rich flavor!

Step 8: Check the Marinated Wings
After 2 hours, your wings should look glossy, golden, and ready for the oven! If they’re not quite golden enough, you can add a splash more dark soy sauce (but don’t overdo it—you want that balanced flavor).

Step 9: Preheat and Prep the Oven
Preheat your oven to 210°C (410°F). While it heats up, line a baking rack with parchment paper (or use a wire rack for better air circulation). Lightly grease the rack with a tiny bit of oil to prevent sticking.

Step 10: First Roast – 10 Minutes
Arrange the marinated wings on the prepared rack, spacing them out so air can circulate (no overcrowding, or they’ll steam instead of crisp!). Place the rack in the oven’s middle shelf. Pro tip: Put a baking sheet below the rack and fill it with ½ cup of water. The steam from the water keeps the wings juicy and makes cleanup a breeze!

Step 11: Flip and Season for Crispiness
After 10 minutes, carefully remove the rack using oven gloves (they’re hot!). Brush the wings with a thin layer of oil—this is the secret to extra crispy skin! Then, sprinkle on the spicy cumin seasoning powder generously.

Step 12: Final Roast – 10 More Minutes
Return the rack to the oven and roast for another 10 minutes. Now, your wings should be golden-brown, crispy, and absolutely irresistible!
Step 13: Serve and Enjoy!
Let the wings cool for 2-3 minutes (they’re piping hot!), then dig in. These are best fresh off the oven, so gather your friends and family for a messy, delicious feast.
Pro Tips for Even Better Wings
Want to take your roasted wings to the next level? Here are my go-to hacks:
- Marination Shortcuts: If you’re short on time, marinate for at least 1 hour. Just flip them once halfway through!
- Oven Temperatures: Every oven is different! If yours runs hot, lower the temp to 200°C (390°F). If it’s cold, bump it to 220°C (425°F). Start with 210°C and adjust after 10 minutes.
- Customize the Spice: Swap the cumin for paprika, garlic powder, or even barbecue sauce if you don’t like heat. Make it your own!
- Extra Crispy Hack: For the absolute crunchiest skin, leave the wings uncovered during the final roast. The dry heat will make them crackle!
- Meal Prep: Marinate the wings the night before and roast them in the morning—they’ll be even more flavorful by then.
Final Thoughts: Your New Favorite Snack
These oven-roasted chicken wings are proof that homemade food can be better than takeout—healthier, cheaper, and way more satisfying. Whether you’re a wing enthusiast or just love easy weeknight meals, this recipe is a winner. The key is the marinade and that double-roasting technique for crispy skin. Now, go grab your ingredients, follow the steps, and enjoy every bite. Tag me in your photos—I’d love to see your crispy creations! Happy cooking!